Top-and-Bottom Clamshell Labeling: Layout Tips That Reduce Jams
Nov 4, 2026
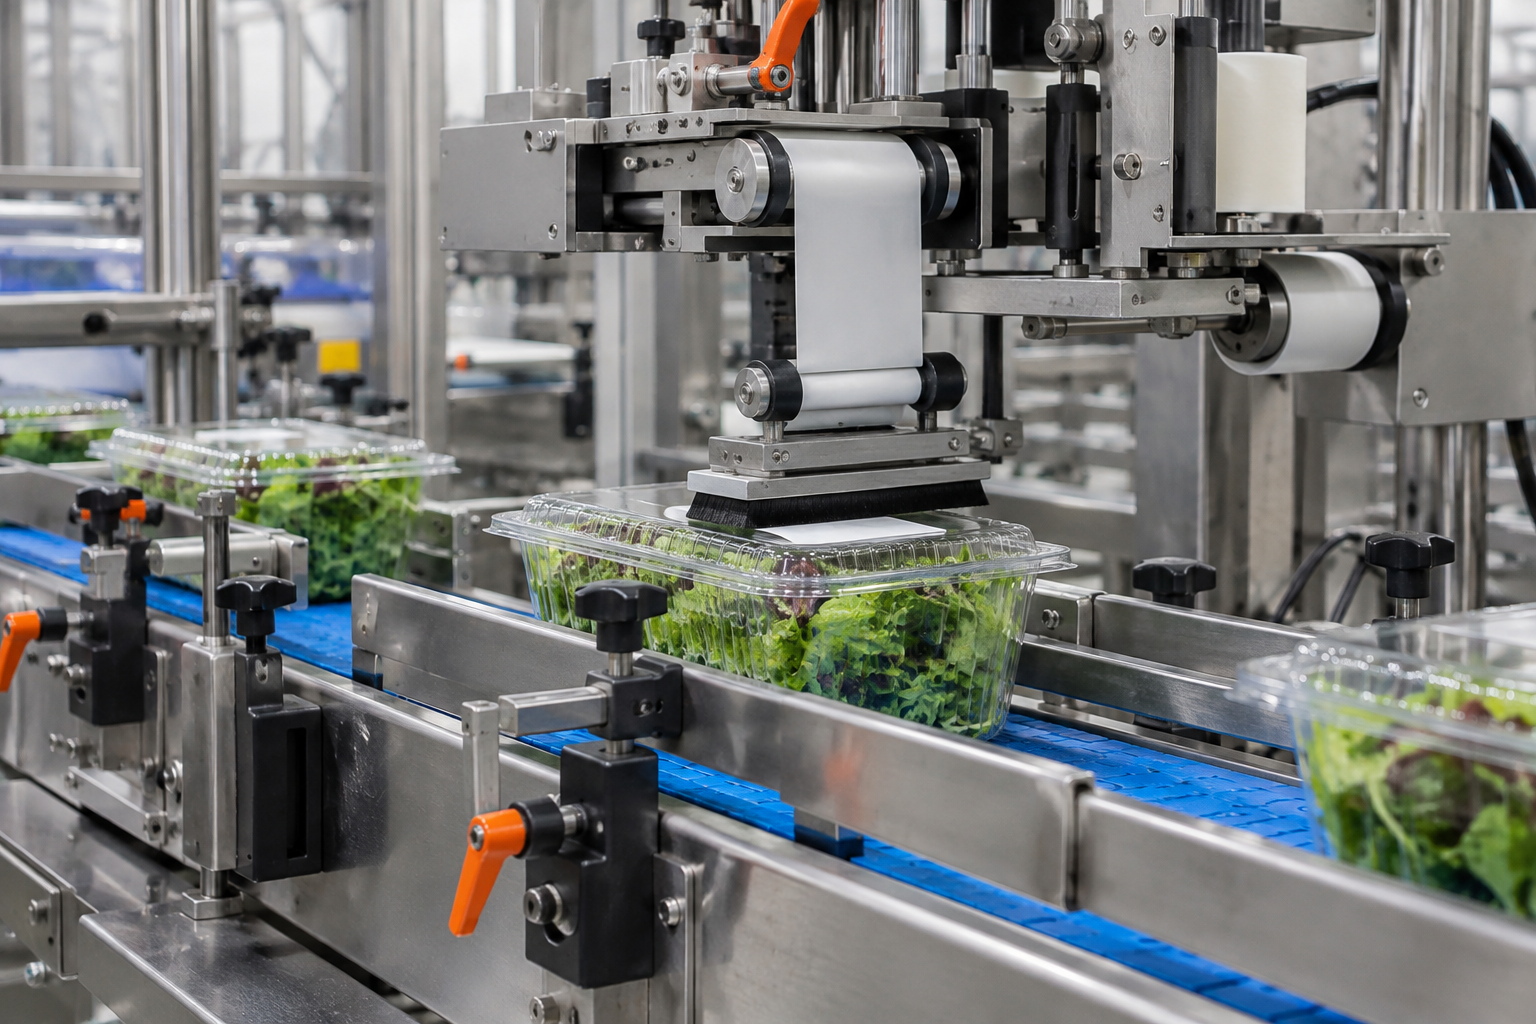
Reduce clamshell labeling jams with better conveyor transfers, bottom-label access, guide placement, label sizing, and changeover checks.
Start with the package, not the label head
Top-and-bottom labeling puts two applications on one relatively flexible package. A clamshell that travels cleanly through a closing machine can still catch a hinge at the labeler entrance, rock over a bottom-label opening, or drag a freshly applied label against a guide. The label heads may be working correctly. The conveyor layout may not be.
I start with the underside of the package. Feet, ribs, recessed panels, and hinge projections determine where it can ride and where a label can land. Establish those surfaces before deciding where the applicators belong.
Map the actual clamshell envelope
Measure closed, filled containers, not just empty samples from a supplier. Include the hinge, latch, feet, and any lid bulge caused by the intended fill. Record minimum and maximum package weight, too. A light bakery clamshell and a heavier produce pack can react differently to the same belt transition.
Build a simple package drawing showing three separate areas: the conveyor support surfaces, the guide-contact surfaces, and the top and bottom labeling panels. Any overlap deserves attention.
- Mark ribs and recesses that prevent full label contact.
- Identify protrusions that can hook a guide or transfer edge.
- Check whether the bottom panel stays flat under product weight.
- Include every container size planned for the line.
Use samples from multiple cases when available. A layout fitted tightly around one unusually straight container is not a dependable production setup.
Keep the container supported through bottom labeling
A bottom applicator needs access to the package underside. That may require split conveyor belts, side-grip transport, or another transfer arrangement designed for the container. Each approach changes how the clamshell is supported during application.
With split belts, confirm that both belts contact stable surfaces throughout travel. A molded foot dropping into the opening can tip the container just as the label dispenses. With side-grip transport, verify that the gripping force holds the package without distorting the walls or releasing the closure.
Do not make the bottom opening larger than the application requires. For example, a 2-inch-wide label does not automatically justify a 3-inch-wide unsupported opening. The necessary opening depends on the applicator geometry, belt tracking clearance, and package support pattern. Prove it with filled samples.
Check the exit as carefully as the entrance. A leading foot can clear the labeling opening and then strike the receiving conveyor. Keep transfer surfaces aligned and minimize unsupported travel within the equipment supplier's limits.
Establish spacing before the first application
Touching clamshells are difficult to label consistently. The controls need a repeatable package detection event, and the applicator needs enough time to dispense and reset. Packages also need room to pass transfers without pushing one another sideways.
Provide controlled spacing upstream rather than trying to separate containers directly beneath a label head. Confirm that spacing remains stable through both application stations. A belt speed change between them can alter the gap or rotate a lightweight pack.
For a layout calculation, an 8-inch-long container with a 2-inch gap has a 10-inch pitch. At 60 containers per minute, that requires 50 feet per minute of conveyor travel. This is a planning example, not an equipment rating. The applicator, transfer system, and package must all support the selected operating condition.
Choose the application order around support
There is no universal rule that the top label must go first. Choose the order that preserves package control and keeps newly applied labels away from disruptive contact.
A top hold-down belt can stabilize a clamshell during bottom application, but it may also rub a top label applied moments earlier. Bottom-first labeling can avoid that conflict. On another package, the bottom label may need immediate support and wipe-down before the container reaches the top station.
Leave enough conveyor length for each label to be applied and pressed down before the next transfer. Avoid stacking both operations around one short, unstable opening just to save floor space. When reviewing a clamshell labeler, ask to see the proposed support and wipe-down arrangement for both panels.
Put guides where they cannot catch edges
Side guides should control position without squeezing the package. Put them against repeatable container features, not flexible lid corners or projecting latch tabs. Use smooth, tapered entrances rather than square guide ends facing incoming packs.
Guide transitions matter. A small inward step can catch a hinge even when the rest of the rail has adequate clearance. Run samples with the hinge in the intended orientation and check every rail joint.
Keep guides away from label edges whenever possible. If a bottom label extends onto a curved wall, a downstream guide may scrape it loose. That loose edge can then collect adhesive and debris on conveyor components. Fix the contact path instead of repeatedly cleaning the same trouble spot.
Size labels for the usable panel
The largest printable panel is not necessarily the largest reliable labeling panel. Leave room for container variation and placement variation. Keep label edges clear of feet, deep ribs, hinge transitions, and abrupt curves unless the application has been tested there.
For example, placing a 3-inch-wide label on a 3-inch-wide flat panel leaves no lateral placement allowance. A narrower label may be more reliable, provided required information remains readable and compliant.
Test the actual label material and adhesive under production conditions. Refrigerated produce containers may carry condensation. Bakery packs may encounter crumbs or oily handling residue. Poor adhesion can turn a labeling defect into a jam when a lifted corner catches downstream hardware.
Leave room for recovery and changeovers
Operators need access to thread the bottom label web, remove a damaged container, and clean the transfer area safely. Do not bury the lower applicator behind fixed conveyor framing. Provide access consistent with guarding and lockout requirements.
Coordinate discharge spacing with end-of-line equipment so a stopped case-packing section does not force containers backward through the labeling zone. For broader conveyor and packaging equipment planning, Packaging Machine is another relevant resource.
Save guide positions, belt settings, label recipes, and sensor positions by container format. During acceptance testing, include low product flow, normal flow, downstream stops, and restarts. Inspect the first packages after each restart. That is often where unstable spacing and marginal transfers show themselves.
Questions and Answers
Why does a clamshell tip during bottom-label application?
Check whether its feet or ribs lose support over the applicator opening. Also inspect transfer height and belt alignment. Correct the support geometry before adjusting label timing.
Should the top label or bottom label go on first?
Use the sequence that maintains support without rubbing a fresh label. Bottom-first can help when top hold-down contact is needed, but test the complete transport path.
How much clearance should a bottom label have from molded ribs?
Allow for both container dimensional variation and applicator placement variation. There is no universal clearance. Verify the margin with production samples, including packages at the limits of the accepted size range.
Explore the machines
- Clamshell Denester — Separates nested clamshells and places them on the line.
- Clamshell Filling Systems — Accurate weighing and filling of fresh product.
- Clamshell Closing Machine — Closes and locks hinged clamshell lids automatically.
- Clamshell Labeler — Top, bottom and wrap labeling with print-and-apply options.
- End-of-Line Systems — Case packing, case sealing and palletizing.