Planning Floor Space for a Complete Clamshell Packaging Line
Nov 19, 2026
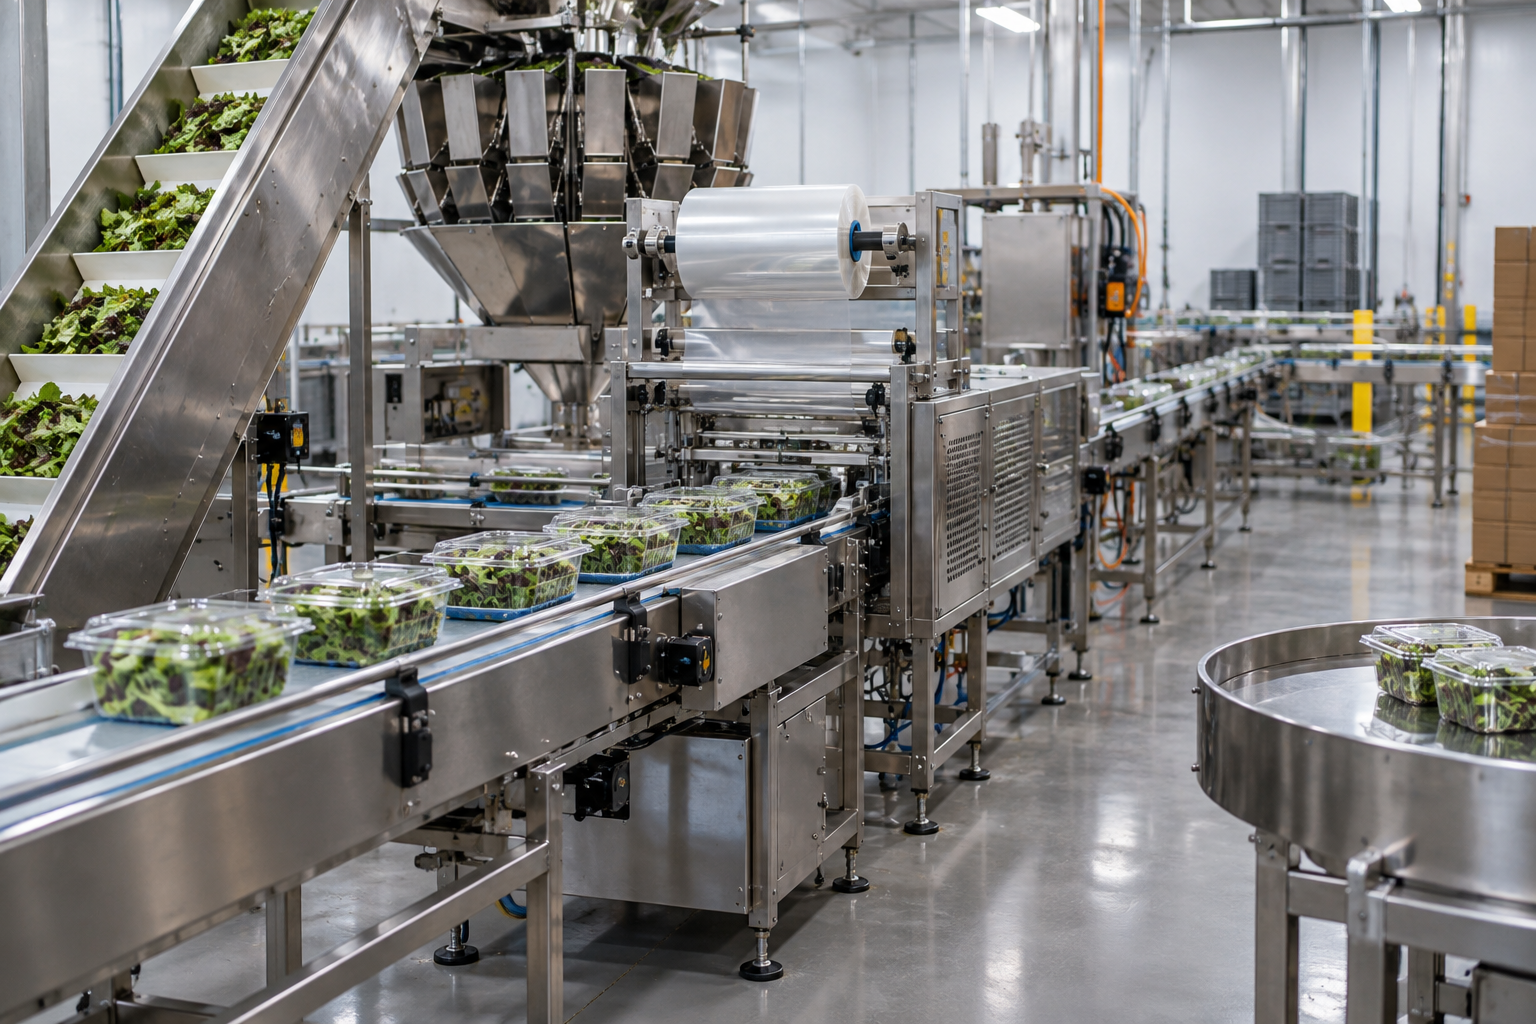
Plan clamshell line space around equipment, operators, sanitation, material flow, utilities, and case handling before committing to a layout.
Start With Flow, Not Just Machine Dimensions
A complete clamshell packaging line needs more room than the combined footprints of its machines. Empty containers must reach the denester. Product must reach the filler. Operators need access to inspect packages, clear faults, and replenish supplies. Finished cases need somewhere to go.
Begin with a scaled drawing of the available room, including columns, doors, drains, electrical panels, and fixed equipment. Then trace three routes: incoming product, packaging materials, and finished goods. If those routes cross repeatedly, address the layout before selecting conveyor lengths. A compact arrangement is not useful if every pallet delivery interrupts production.
Define the Production Requirements First
Floor-space planning starts with the containers and products you intend to run. Record container dimensions when open and closed, product characteristics, target output, fill weights, labeling requirements, and case configurations. Include the largest container and the most demanding product, not just the easiest combination.
The complete-line specifications from Pure Packaging Solutions list 10-100 clamshells per minute, 1-4 lanes, and up to six filling stations. These describe available line configurations, not a guaranteed rate for every installation. Actual output depends on the container, product, filling arrangement, and connected equipment.
A wider, multilane layout or additional filling stations can change the space requirement substantially. Ask the supplier to develop the layout around your required package mix and sustained production target. Do not size the room around a maximum advertised speed alone.
Build the Layout Around Operating Zones
Container supply and denesting
Allow space for unopened container cartons, working stacks, and removal of empty packaging. Decide whether replenishment will come from a nearby pallet position or smaller deliveries from a separate storage area. Keep replenishment access out of the finished-package path.
Check overhead clearance as well as floor area. Ask for the denester's loaded height, replenishment method, and access requirements. The operator should not need to move unrelated equipment to reload containers.
Filling and product delivery
The filler footprint is only part of the filling zone. Include whatever feeds it: bins, conveyors, weighing equipment, or manual loading positions. Confirm how product arrives and how unused product leaves during a changeover.
Locate product staging deliberately. Large quantities parked beside the filler can obstruct access and complicate sanitation. Set the staging allowance from the replenishment schedule and the product's handling requirements rather than treating every open corner as storage.
Closing, inspection, and labeling
Leave access where operators must check lid engagement, inspect fills, replace label rolls, and remove rejected packages. Confirm which side of each machine opens for service before placing it against a wall.
The Clamshell Closing Machine closes and locks hinged lids automatically. The But-N-Loc closer specification covers 8-64 oz tamper-evident hinged containers at up to 80 containers per minute, subject to container and line conditions. That is a closer specification, not a complete-line output guarantee. Upstream supply and downstream handling must support the planned operating rate.
Case handling and discharge
Do not end the drawing at the labeler discharge. Include case erection or case supply, packing positions, sealing, pallet staging, and removal of finished pallets. Review the proposed End-of-Line Systems alongside the primary packaging equipment so their access and material requirements are included from the start.
Separate Footprint From Required Working Space
Request a general arrangement drawing for the proposed configuration. It should identify equipment dimensions, conveyor elevations, utility connections, guard movement, and maintenance access. Ask the supplier to distinguish the machine's physical footprint from the space needed to operate and service it.
- Operating space: Positions for loading, inspection, controls, and routine adjustments.
- Service space: Room to open guards, remove components, and bring in maintenance tools.
- Sanitation space: Access for cleaning, inspection, and handling removed parts.
- Traffic space: Routes for people, packaging deliveries, and finished goods.
Do not apply one assumed clearance everywhere. Required aisle widths, electrical working clearances, and exit access depend on the facility and applicable requirements. Have the layout reviewed by the appropriate facility, safety, and code professionals.
Use an Area Budget Before Final Engineering
Illustrative example, not an equipment specification: Assume a straight equipment-and-conveyor envelope measures 40 feet long by 4 feet wide. Assume two unobstructed access strips, each 40 feet long by 4 feet wide. Also assume two separate staging zones, each 10 feet by 12 feet. None of these areas overlap.
- Equipment envelope: 40 × 4 = 160 square feet.
- Access strips: 2 × 40 × 4 = 320 square feet.
- Staging zones: 2 × 10 × 12 = 240 square feet.
- Total preliminary allocation: 160 + 320 + 240 = 720 square feet.
This example excludes separate maintenance facilities, bulk storage, and building traffic aisles. The assumed access strips are budgeting allowances, not approved safety clearances. Replace every assumed dimension with supplier drawings and site-specific requirements before approving the project.
Check Utilities, Cleaning, and Future Changes
Map electrical service and any required compressed air, data, water, or drainage connections. Obtain actual utility requirements for each selected machine. Avoid routing hoses and cables across walking paths, and preserve access to isolation points.
Discuss cleaning methods before fixing equipment locations. Confirm washdown suitability where required, identify where removed parts will be cleaned, and check that equipment placement does not block drainage or inspection access.
Finally, reserve a defined expansion area if additional filling capacity, inspection equipment, or automated case handling is likely. During discussions with Pure Packaging Solutions, request both the initial layout and a future arrangement. Before ordering, mark the proposed equipment boundaries on the floor and walk through replenishment, changeover, cleaning, and pallet removal with the people responsible for each task.
Questions and Answers
Can we estimate line space by adding machine footprints?
Only as a starting point. Add conveyors, operating access, service clearances, sanitation access, staging, and traffic routes. Use the proposed configuration's drawings rather than dimensions from unrelated machines.
Should empty clamshell pallets sit beside the denester?
Only if the layout provides a designated position without obstructing operation, cleaning, or traffic. Smaller scheduled deliveries may suit a tight room better than storing full pallets at the machine.
Where should we reserve space for future expansion?
Reserve it beside the operation likely to change, such as filling or case packing. Check that expansion will still allow utility access, material delivery, maintenance, and safe exit routes.
Explore the machines
- Clamshell Denester — Separates nested clamshells and places them on the line.
- Clamshell Filling Systems — Accurate weighing and filling of fresh product.
- Clamshell Closing Machine — Closes and locks hinged clamshell lids automatically.
- Clamshell Labeler — Top, bottom and wrap labeling with print-and-apply options.
- End-of-Line Systems — Case packing, case sealing and palletizing.