Cleaning and Sanitation for Clamshell Closing Machines
Nov 1, 2026
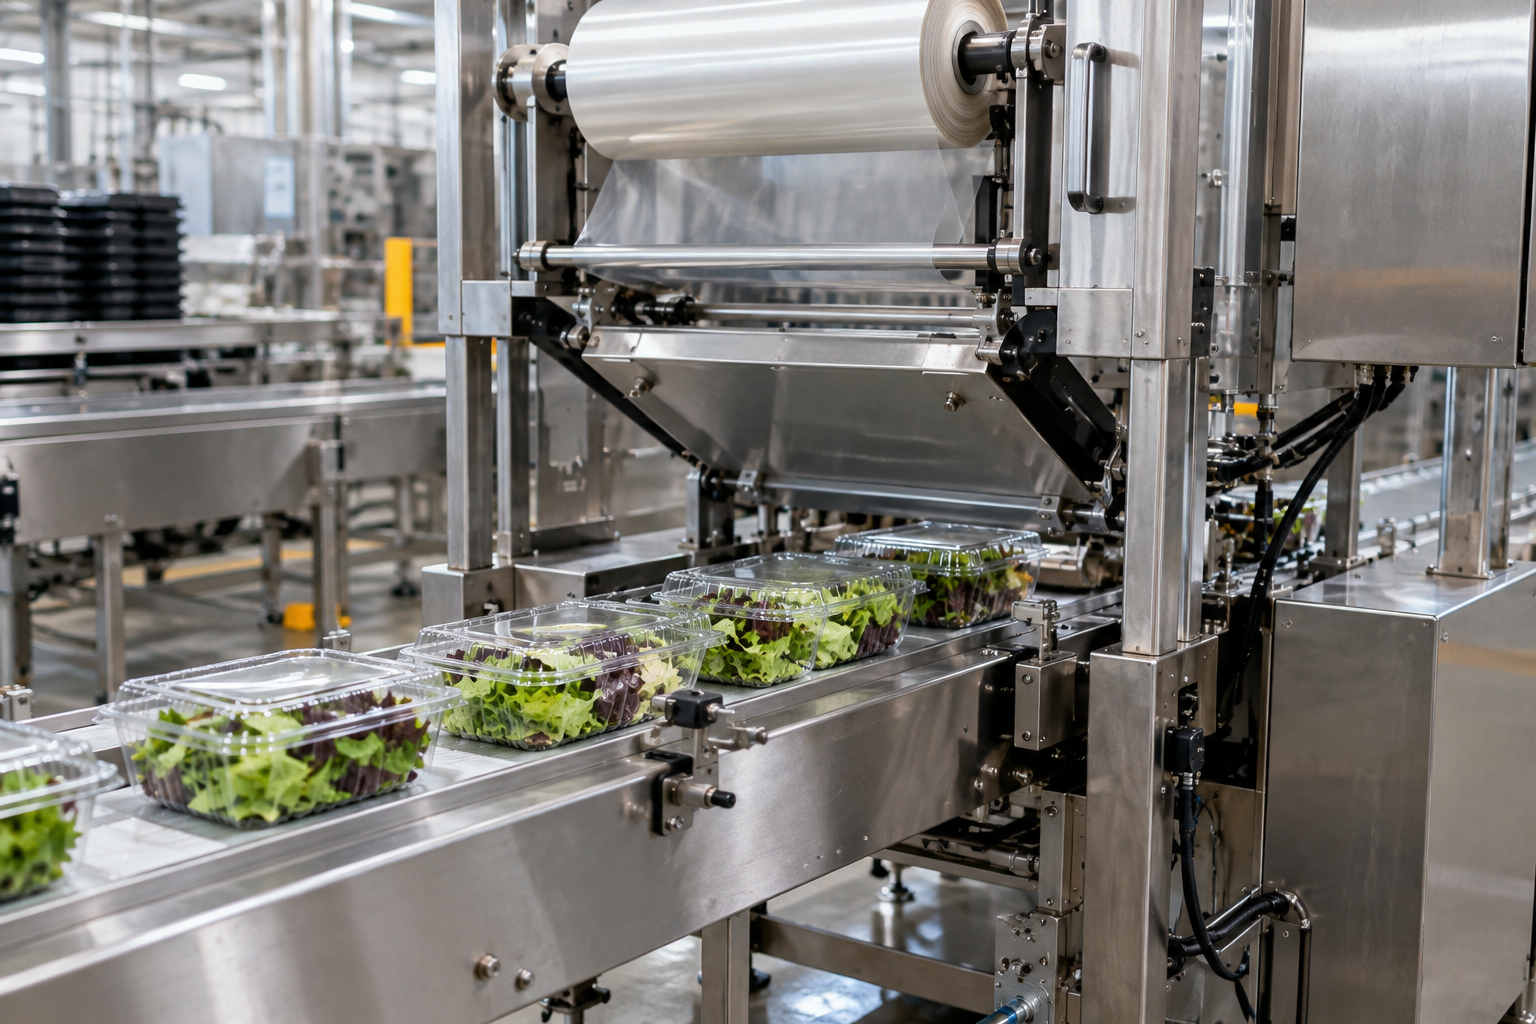
Build a practical cleaning routine for clamshell closers, including safe shutdown, wet and dry methods, inspection, and preoperational checks.
Clean the Closer, Not Just the Conveyor
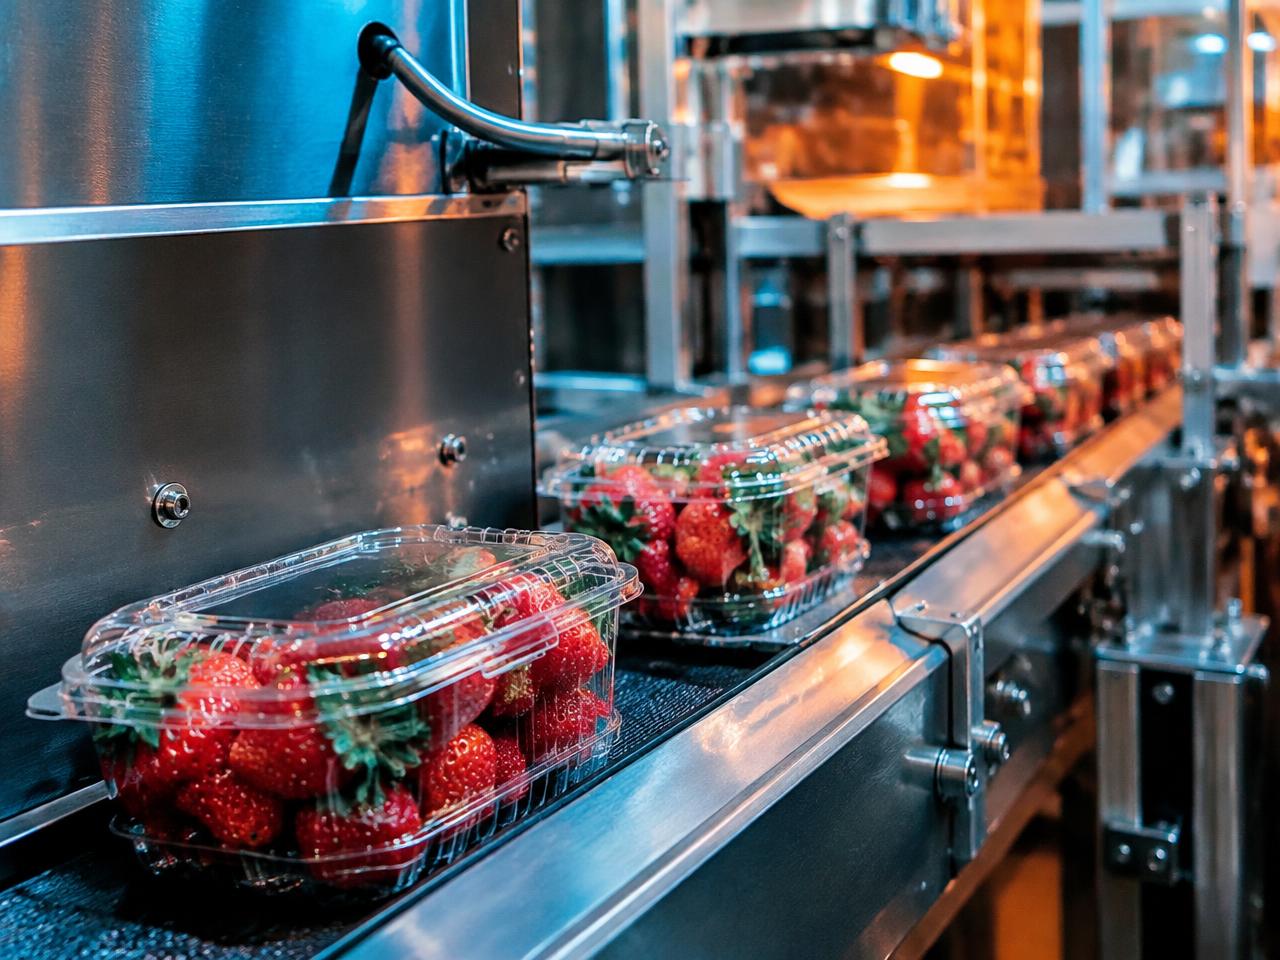
A clamshell closer can look clean from the aisle while berry juice collects beneath a guide rail or muffin crumbs pack behind a lid-folding component. Those deposits can harbor microorganisms, attract pests, interfere with sensors, and change how containers travel through the closing section.
A useful sanitation routine addresses both food safety and mechanical performance. It tells the crew what to remove, how to clean it, what must stay dry, and who releases the machine for production. “Wash down the closer” is not enough instruction.
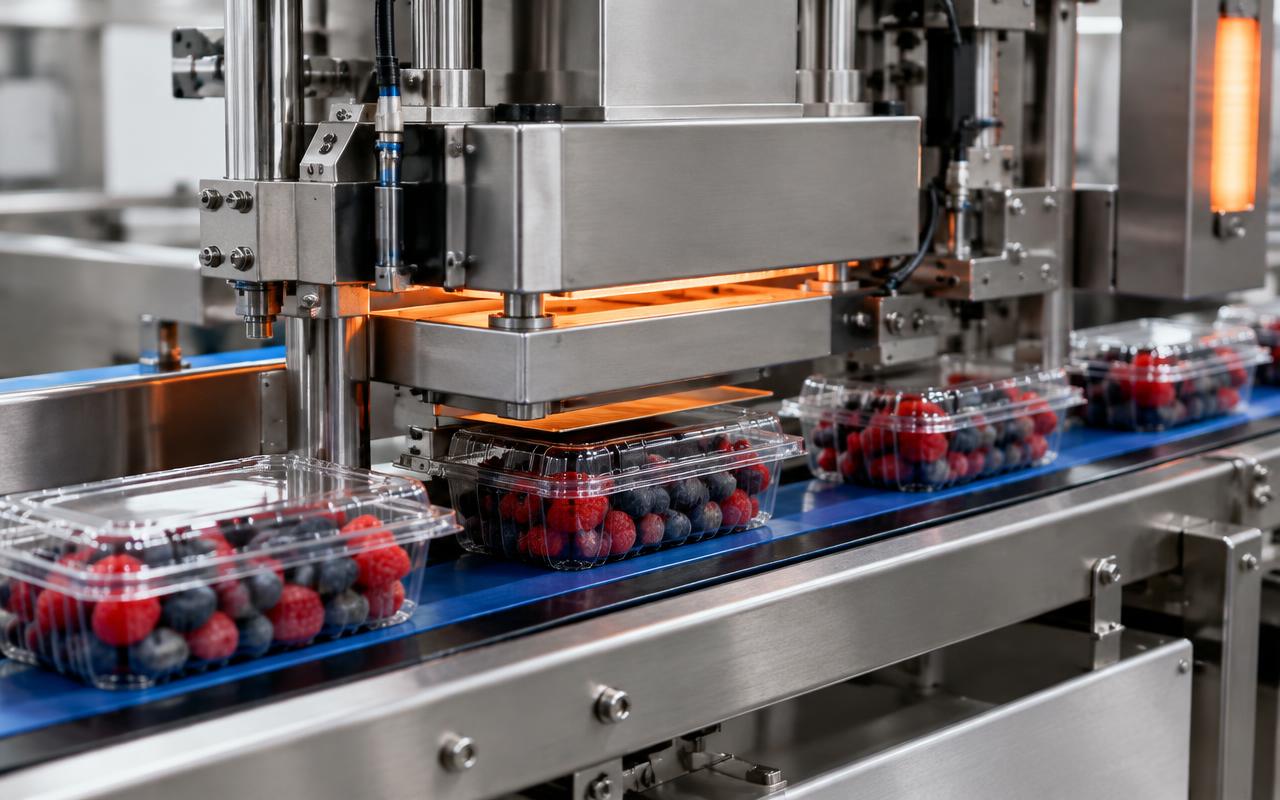
Our Clamshell Closing Machine handles 8-64 oz tamper-evident hinged containers at up to 80 containers per minute. The cleaning method still depends on the installed machine configuration, product soil, chemical compatibility, and approved sanitation procedure. Container capacity does not establish washdown suitability.
Map the Soil Before Writing the Procedure
Start with a stopped, safely isolated machine after a representative production run. Look where product actually lands, not just where the drawings suggest it should land.
- Berry and cut-produce lines: Look for juice, pulp, leaves, and damaged fruit around conveyor transfers and beneath rails.
- Bakery lines: Check for crumbs, sugar, icing, grease, and allergen-containing residues around closing guides and belt returns.
- All lines: Inspect lid-contact components, container guides, sensor brackets, guards, catch trays, and accessible frame joints.
Although the closer primarily handles packaging, spilled food and dirty container exteriors can spread contamination. Classify surfaces through the plant's food safety assessment rather than assuming everything outside the package is low risk.
Include adjacent transfers in the sanitation boundary. If an upstream conveyor drops debris onto a freshly cleaned closer, the boundary is too narrow.
Set Frequencies Around Risk and Production
Separate routine housekeeping from full cleaning and sanitation. A dropped berry needs prompt removal under a safe procedure. An allergen changeover may require a validated cleaning process before the next product runs. Neither should wait automatically for the end of the shift.
Define cleaning triggers for production completion, extended downtime, product changes, contamination events, and maintenance work. For example, a bakery running plain muffins after walnut muffins needs an allergen-control decision, not merely a crumb sweep.
Record the equipment identity, product previously run, procedure used, chemicals, inspection results, corrective actions, and release authorization. Establish cleaning time from observed work. A schedule that allows 15 minutes for a procedure requiring 30 encourages shortcuts.
Shut Down and Isolate Before Access
Clear remaining containers and product according to the operating procedure. Then follow the machine-specific hazardous-energy control procedure before removing guards, disassembling parts, or reaching into danger zones.
Turning off the operator screen or pressing an emergency stop is not energy isolation. Electrical power, compressed air, and stored mechanical energy may require separate controls. Authorized employees must isolate sources, address stored energy, and verify isolation under the plant's lockout/tagout program.
Identify electrical enclosures, motors, sensors, connectors, and other components with water-exposure limits. Do not assume a stainless steel frame makes the whole machine washdown-rated. Follow manufacturer instructions for protection and cleaning around these areas.
Remove Debris Before Applying Water
Pick up loose product and remove bulk soil using designated tools. Use scrapers compatible with the surface. Scratched belts and damaged plastic guides are harder to clean and may need replacement.
For dry bakery applications, an approved industrial vacuum may be appropriate for crumbs and dust. The vacuum must suit the material and any combustible-dust hazards. Avoid casually blowing debris away with compressed air. That can redistribute allergens and contamination into bearings, electrical components, and neighboring equipment.
Remove only the parts identified in the sanitation procedure. Place removable guides, trays, and other components on a designated rack or in an approved cleaning area, never on the floor. Keep small hardware accounted for.
Choose Wet or Dry Cleaning Deliberately
Wet cleaning for approved equipment
Where the machine and facility permit wet cleaning, follow the approved sequence: remove gross soil, rinse as specified, apply detergent, scrub accessible surfaces, rinse, inspect, and sanitize. Correct any remaining soil before sanitizing. Sanitizer does not replace cleaning.
Use the detergent concentration, water temperature, and contact time specified for the application. Check compatibility with belts, seals, plastics, and metals. More chemical is not automatically better. Excess concentration can damage components or leave residues.
Keep spray pressure controlled and directed away from sensitive components. High-pressure spraying can spread contamination and force water into protected areas. Avoid spraying nearby equipment that is already cleaned or running exposed product.
Dry cleaning for moisture-sensitive areas
In a dry bakery environment, unnecessary water can create a new sanitation problem. Use the approved combination of vacuuming, scraping, brushing, and controlled wiping. Any sanitizer used must be suitable for the surface and application, with label directions followed.
Dry cleaning is not automatically adequate for an allergen changeover or microbiological hazard. Validate the selected method against the actual residue and risk. If wet cleaning is required, control the water and verify drying before release.
Inspect the Places That Affect Closing
After cleaning, use good lighting to inspect beneath rails, around hinges and pivots, and along accessible conveyor returns. Look for sticky films, embedded crumbs, trapped moisture, and chemical residue. White wiping materials can help reveal remaining soil, but a clean-looking wipe does not prove microbiological safety.
Check belt condition, loose fasteners, worn guides, and damaged seals. Restore removed parts to their documented settings. A guide installed even 1/8 inch from its established position can change container tracking on some setups.
Apply lubricant only where specified, using the required grade and amount. Food-grade lubricant is not permission to leave excess lubricant where it can transfer to containers.
Verify Sanitation and Release the Line
Use visual inspection plus the verification methods established by the food safety program. ATP testing can help assess cleaning performance, but it does not identify pathogens or establish allergen removal. Allergen-specific tests and environmental monitoring serve different purposes.
Define what happens after a failed check: hold the equipment, reclean the affected area, repeat verification, and document the result. Trending repeated failures at one bracket is more useful than repeatedly cleaning it without investigating why soil accumulates there.
Reinstall guards, clear tools, and restore energy through the authorized procedure. Run approved test containers and check tracking, lid engagement, locking, and transfer performance. Coordinate sanitation boundaries with connected equipment and suppliers such as PackagingMachine.com when reviewing the broader packaging line.
Questions and Answers
Should closing guides be removed during every cleaning?
Remove them at the frequency specified by the approved procedure. If residue collects behind a guide and cannot be reached in place, the procedure must provide safe access and define reinstallation checks.
Can sanitizer remove sticky berry juice from closing components?
No. Remove the juice and clean the surface first. Inspect for remaining soil, then apply an appropriate sanitizer according to its label and the plant procedure.
What should operators check after sanitation?
Check that guards and guides are correctly installed, surfaces meet release requirements, and tools are removed. After authorized startup, use test containers to verify tracking and complete lid locking before resuming production.
Explore the machines
- Clamshell Denester — Separates nested clamshells and places them on the line.
- Clamshell Filling Systems — Accurate weighing and filling of fresh product.
- Clamshell Closing Machine — Closes and locks hinged clamshell lids automatically.
- Clamshell Labeler — Top, bottom and wrap labeling with print-and-apply options.
- End-of-Line Systems — Case packing, case sealing and palletizing.