Clamshell Packaging Machine: A Buyer's Guide
Sep 25, 2026
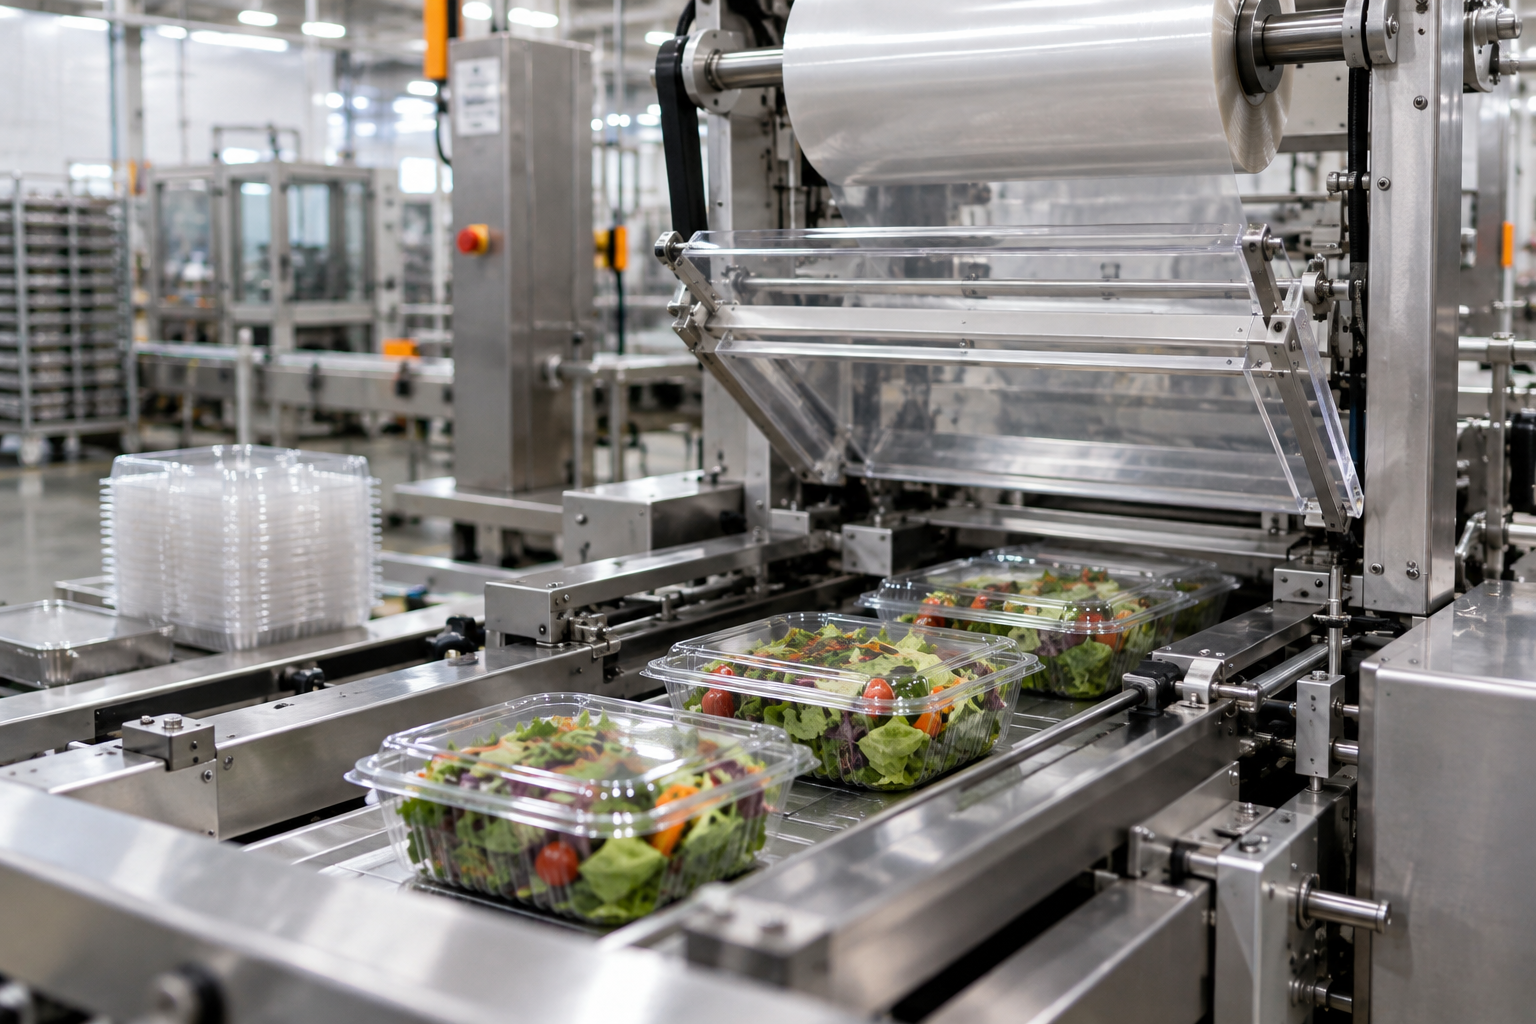
Learn how to size, test, and compare clamshell packaging machines for your containers, product, labor needs, and available floor space.
A clamshell packaging machine should solve a specific production problem. Maybe employees cannot separate empty containers fast enough. Maybe lids reach the labeler partly open. Or perhaps filling varies enough that product giveaway is eating into margin. Those problems call for different equipment.
Before requesting a quote, watch your line for a full production run, including replenishment, jams, and changeover. Count good packages leaving the line, not just containers entering it. That number gives you a useful starting point for buying equipment.
1. Decide Which Operation Needs Automation
“Clamshell packaging machine” can mean one machine or a connected system. Specify the operation you want to improve before comparing prices.
- Denesting: Separates nested empty clamshells and places them on the conveyor.
- Filling: Weighs and dispenses product into the container.
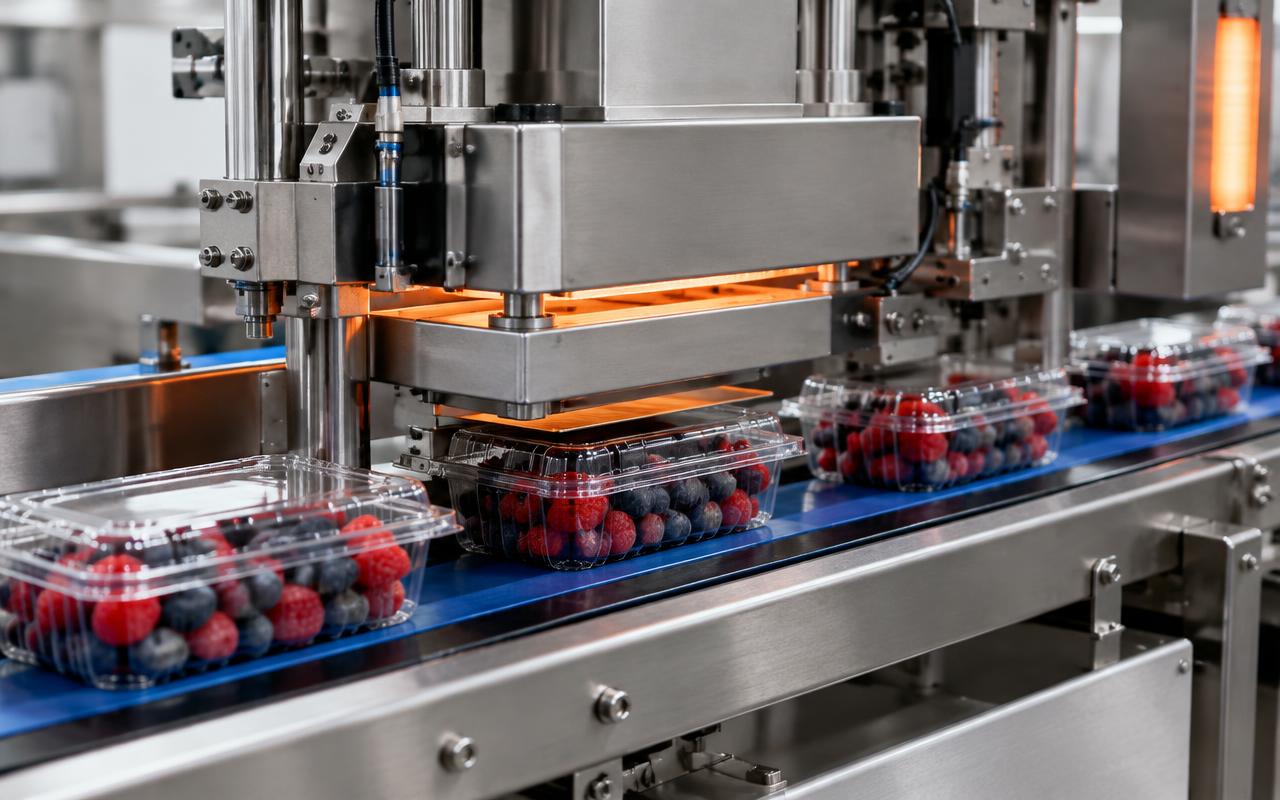
- Closing: Folds hinged lids and engages the container locks.
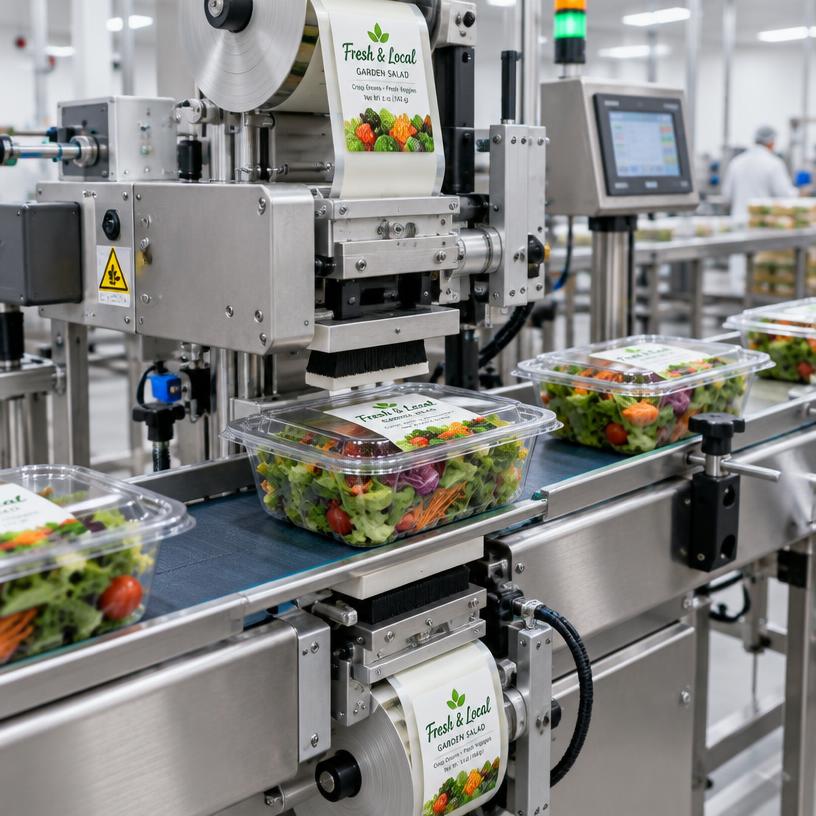
- Labeling: Applies top, bottom, or wrap labels, with printing when required.
- End-of-line handling: Packs finished containers into cases, seals cases, and prepares loads for shipment.
If operators spend most of their time pulling nested containers apart, start by evaluating a clamshell denester. A faster filler will not fix an unreliable supply of empty packages. Likewise, adding a closer will not recover time lost while someone clears product from the lid channel.
2. Buy Around Your Actual Containers
A nominal package size is not a machine specification. Two containers sold for the same product weight can have different footprints, hinge stiffness, nesting depths, and lock designs. Small differences can change how reliably they separate, travel, and close.
Send the equipment supplier production samples from every container supplier you use. Include the smallest and largest formats, plus any package that already causes trouble. Samples from multiple manufacturing lots are more useful than one carefully selected stack.
- Provide overall length, width, and height in inches.
- Identify the container material and manufacturer’s part number.
- Show the hinge, latch, and tamper-evident features.
- Specify the package orientation at each machine entrance.
- List planned container changes, not just current formats.
The Clamshell Closing Machine handles 8-64 oz tamper-evident hinged containers at up to 80 containers per minute. Treat that as the machine’s stated capability, not a guaranteed production rate for every package. Have the supplier verify your exact container and filled condition.
3. Match Capacity to Good Output
Nameplate speed is only part of capacity. Your required rate must account for cleaning, material replenishment, breaks, changeovers, and routine stops.
For example, suppose you need 24,000 saleable containers during an eight-hour shift. If only six hours remain for production after scheduled activities, you need an average of about 67 good containers per minute during that time. A machine that briefly reaches your target but stops frequently may not meet the shift requirement.
I would ask for three numbers: demonstrated running rate, reject count, and total elapsed test time. Those tell you more than a short video of containers moving quickly.
Also check downstream capacity. A labeler, manual case-packing station, or case sealer can limit the whole system. Agree on what happens when downstream equipment stops, including how upstream machines receive the stop signal.
4. Test the Product, Not Just the Package
Empty-container trials are useful, but they do not prove filled-package performance. Blueberries can roll into a closure channel. Leafy greens can stand above the rim. A tall muffin can contact the lid before the latch engages.
For produce, evaluate drop height, bruising, spillage, and product trapped around the rim. For bakery items, check crumbs, topping loss, orientation, and clearance above the tallest product. Use representative product variation, not only the neatest samples.
If filling is included, define acceptable weight performance and how it will be measured. Ask whether quoted accuracy applies to individual packages or an average. Also establish who supplies the scale, calibration checks, and reject handling.
5. Measure the Working Footprint
The equipment outline is not the installation footprint. Operators need room to load container stacks, remove rejects, open guards, clean surfaces, and access electrical panels.
Mark the proposed layout on the floor with tape. Include incoming material, finished cases, waste bins, and maintenance access. Then walk through replenishment and changeover tasks. This inexpensive exercise often exposes awkward reaches and blocked routes.
Confirm conveyor heights, transfer gaps, electrical requirements, and compressed-air demand. Get air consumption at the specified operating condition, not just the inlet pressure. If the project extends through case handling, discuss those interfaces with an equipment resource such as PackagingMachine.com before finalizing the layout.
6. Examine Cleaning and Changeover
“Easy to clean” needs a demonstration. Ask which belts, guides, and contact parts come off, whether tools are required, and where water or debris can collect. Confirm that the machine’s construction and electrical components suit your sanitation method. Stainless steel alone does not make equipment suitable for washdown.
Time a complete changeover between two of your formats. Include removing remaining containers, changing parts, adjusting guides, loading settings, and producing acceptable packages. The first good container matters more than the moment the operator finishes turning handwheels.
Request a list of format parts and their prices. Check whether settings are documented and whether adjustment points have readable scales. Repeatable setup should not depend on one experienced employee remembering where everything belongs.
7. Write an Acceptance Test Before Ordering
Put measurable acceptance criteria in the purchase agreement. Define the containers, products, test duration, staffing, operating rate, and allowable defects. Specify whether routine replenishment is included in the test.
- Closure quality: Agree on how latch engagement and tamper-evident features will be inspected.
- Package condition: Set limits for cracked containers, damaged hinges, and crushed product.
- Reliability: Record jams, operator interventions, rejects, and stoppage time.
- Safety: Review guarding, interlocks, emergency stops, and lockout procedures.
- Documentation: Require manuals, wiring diagrams, parts lists, and training.
Complete a factory acceptance test before shipment and a site acceptance test after installation. Record unresolved items and who is responsible for correcting them.
8. Compare Total Cost, Not Just Purchase Price
Compare quotes using the same scope: equipment, conveyors, controls integration, freight, installation, training, format parts, and initial spares. Ask about service response, replacement-part availability, and remote support.
Calculate savings using realistic labor reassignment, reduced waste, and additional saleable output. Do not assume every operator disappears; container loading, inspection, and case handling still require attention. The right purchase is the machine that repeatedly meets your production requirement with manageable cleaning, changeover, and maintenance demands.
Explore the machines
- Clamshell Denester — Separates nested clamshells and places them on the line.
- Clamshell Filling Systems — Accurate weighing and filling of fresh product.
- Clamshell Closing Machine — Closes and locks hinged clamshell lids automatically.
- Clamshell Labeler — Top, bottom and wrap labeling with print-and-apply options.
- End-of-Line Systems — Case packing, case sealing and palletizing.