Clamshell Labeler: Top, Bottom and Wrap Labeling Explained
Oct 1, 2026
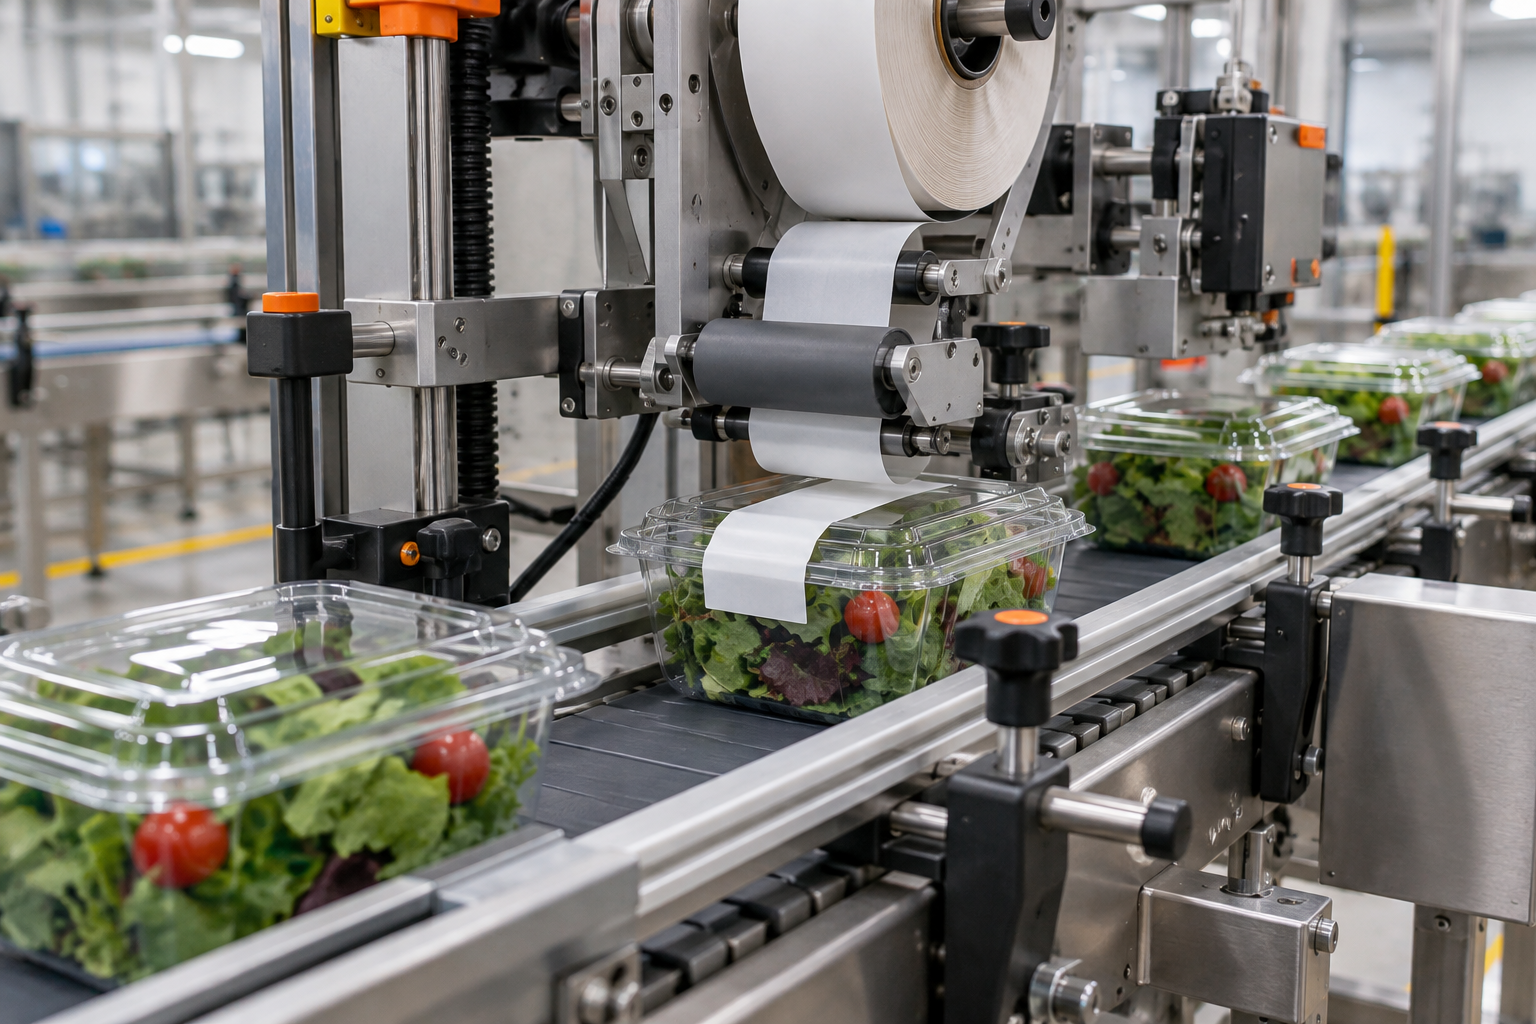
Compare top, bottom and wrap clamshell labeling, including conveyor setup, adhesive selection, placement accuracy and changeover checks.
Start With the Container, Not the Label Head
A clamshell labeler has a straightforward job: put the correct label in the correct place without crushing the package or slowing production. The difficulty is that clamshells are rarely flat, rigid boxes. Berry packs have ribs and vents. Bakery containers have domed lids. Hinges, latch tabs and molded feet can interfere with label application.
Top, bottom and wrap labeling solve different problems. Before choosing a configuration, put a filled, closed container on the table. Identify the selling surface, the usable label area and the information that must remain readable. Then consider how the conveyor will support the package while each label is applied.
Top Labeling: The Main Selling Surface
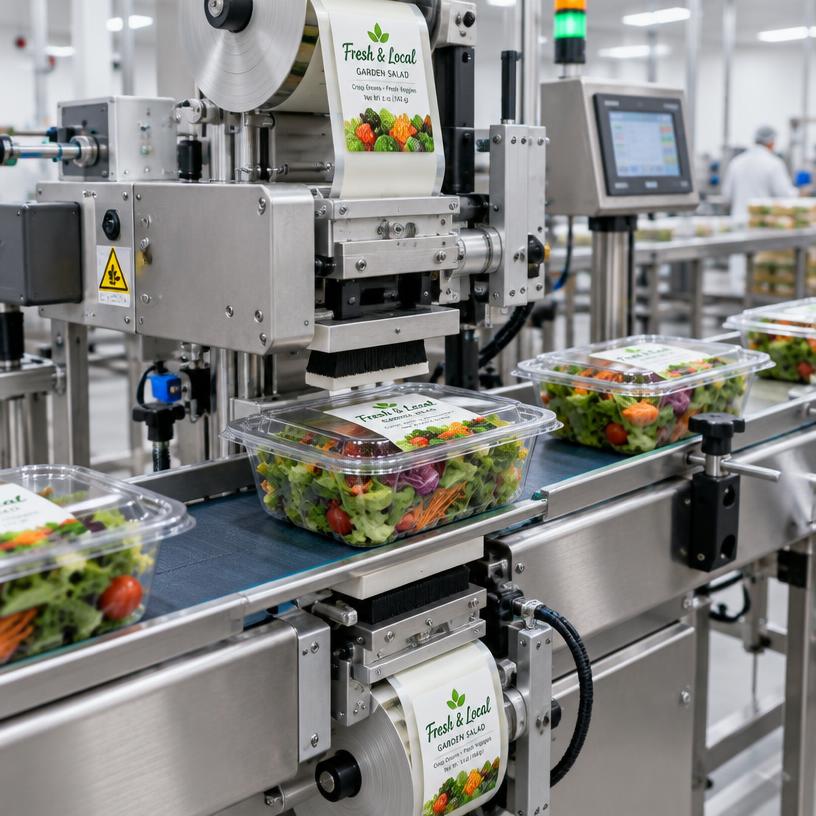
Top labeling applies a pressure-sensitive label to the lid. It commonly carries the brand, product name, net quantity and a barcode, although the exact layout depends on the product and applicable labeling requirements.
On a flat bakery lid, this can be a relatively simple operation. A sensor detects the container, the label feeds from its liner, and a roller or brush presses it onto the lid. Domed or ribbed lids need more attention. A label that bridges a deep molded recess may look acceptable at application but lift during handling.
Measure the actual landing area, not the overall lid dimensions. For example, a 6-inch-wide lid might offer only a 3-inch-wide flat panel between ribs. A 4-inch label would extend outside that panel. Whether it works depends on the contour, label material and adhesive, not just whether it fits within the lid outline.
- Support the package: Application pressure should not collapse the lid or release a latch.
- Control orientation: A square container can still enter rotated, leaving the label crooked relative to the graphics or hinge.
- Preserve visibility: A large label can hide berries, cookies or other products shoppers expect to inspect.
I would start with the smallest label that meets the information and merchandising requirements. More label area is not automatically better.
Bottom Labeling: Useful Space With Conveyor Complications
Bottom labeling moves information underneath the package. It can preserve a clear view through the lid while providing space for ingredients, nutrition information or a barcode. Confirm that the proposed location meets the labeling rules for the product. Mandatory information cannot simply go wherever space is available.
The mechanical challenge is access. An ordinary belt blocks the container bottom. Bottom-labeling arrangements may use split belts, side-grip transport or a controlled transfer that exposes the application area. The right choice depends on container stiffness, weight and bottom geometry.
Consider a hypothetical 2-pound bakery pack with molded feet around its base. The label needs a suitable surface between those feet, and the conveyor must hold the package steady without squeezing the sidewalls. An empty sample will not reveal every problem. Test it filled.
Bottom labels also face handling wear. Containers slide across tables, sit in corrugated cases and contact retail shelving. Keep barcodes away from raised contact points where practical, and check scanning after representative handling rather than only immediately after labeling.
Wrap Labeling: Define Exactly What Wrap Means
For clamshells, wrap labeling often means carrying one label across two or more package surfaces. A label might start on the lid, cross the front edge and finish underneath. This differs from wrapping a label around the circumference of a round bottle.
Spell out the required path when requesting equipment. A top-to-front label and a top-to-front-to-bottom label require different access and wipe-down arrangements. The applicator must place the leading portion accurately, then press the remaining material around the edges without wrinkles or loose tails.
Sharp corners, latch projections and changes in wall angle make this harder. A relatively stiff label may resist bending around a tight edge. A more conformable material may follow the shape better, but material selection still requires trials with the adhesive and container.
A wrap label across the opening can also provide evidence of opening, but an ordinary wrap label is not automatically a tamper-evident feature. Its material, adhesive, perforations and placement must produce a visible change when the package is opened. Test whether someone can peel it back and reapply it without obvious damage.
Adhesive Selection Matters as Much as Placement
Produce labeling often involves cold containers and moisture. Bakery labeling can involve warm packages, grease or crumbs near the application area. These conditions affect adhesion even when label placement is correct.
Ask the label supplier about both minimum application temperature and service temperature. They are different limits. An adhesive suitable for refrigerated storage may still require a warmer, dry surface during application.
Run trials with actual production containers, including expected temperature and moisture conditions. Inspect labels immediately, after adhesive dwell time and after storage. Look for edge lift, sliding, wrinkles and unreadable print. Do not assume that a label approved on one container resin or surface finish will behave identically on another.
Match the Labeler to the Whole Line
A clamshell labeler can provide top, bottom and wrap labeling with print-and-apply options. The configuration should follow the package drawing, required label positions and actual production conditions.
Containers should arrive fully closed, consistently oriented and adequately spaced. A labeler cannot reliably correct an unlatched lid. If closure varies, address that upstream with the closing process or a suitable clamshell closing machine before adjusting label placement.
Specify sustained line demand rather than only a target peak rate. For example, a line running 45 containers per minute needs a labeling arrangement that handles that demand with the chosen label length and print content. Ask broader integration questions through Packaging Machine when conveyor transfers and downstream equipment also need coordination.
Questions and Answers
Can a bottom label go over molded feet?
It may bridge uneven surfaces, but that can leave unsupported areas and expose the label to wear. Prefer a flat landing area and test barcode readability after handling.
Does a wrap label replace the clamshell latch?
No. Close and latch the container before labeling. The wrap label should perform its intended identification or opening-evidence function, not compensate for an unreliable closure.
What samples should we send for a labeling trial?
Send production containers, actual labels and representative filled packages where practical. Include the smallest and largest formats, plus details on application temperature, moisture, orientation and required placement tolerances.
Explore the machines
- Clamshell Denester — Separates nested clamshells and places them on the line.
- Clamshell Filling Systems — Accurate weighing and filling of fresh product.
- Clamshell Closing Machine — Closes and locks hinged clamshell lids automatically.
- Clamshell Labeler — Top, bottom and wrap labeling with print-and-apply options.
- End-of-Line Systems — Case packing, case sealing and palletizing.