Changeover Between 8 oz and 32 oz Clamshells Without Losing a Shift
Nov 16, 2026
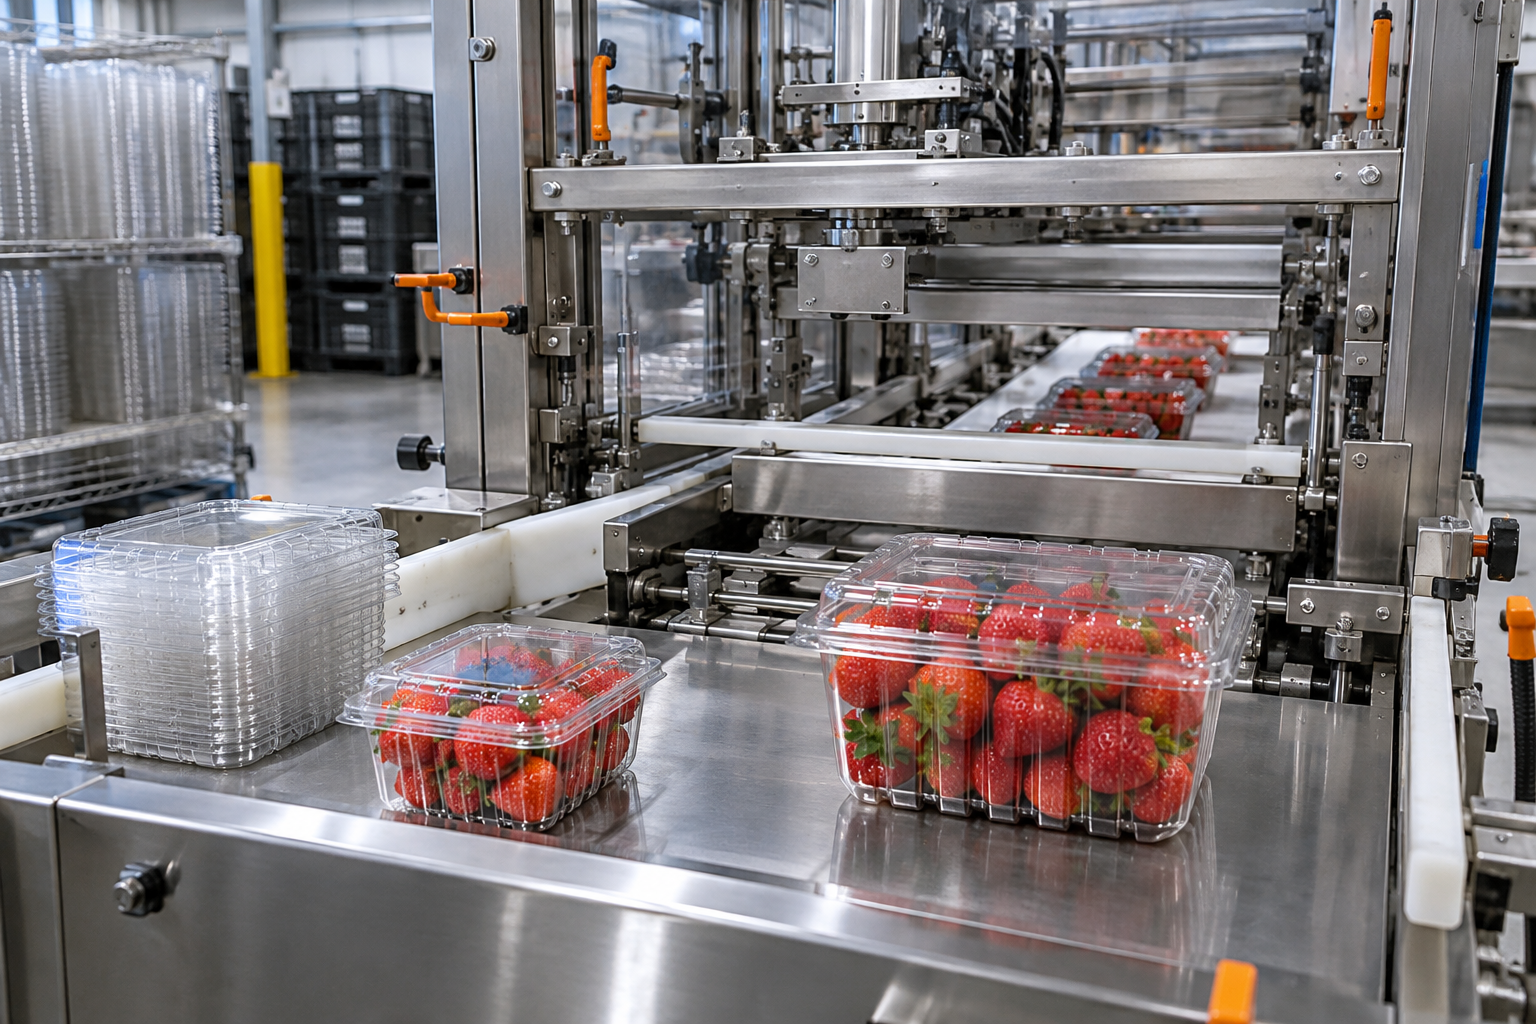
Plan an 8 oz to 32 oz clamshell changeover with staged parts, verified settings, controlled startup, and clear release checks.
Moving from an 8 oz clamshell to a 32 oz clamshell is not simply a matter of opening the conveyor guides. The larger package may have a different footprint, hinge position, lid profile, nesting pattern, and latch geometry. Product portions and label placement may also change. A workable changeover plan follows the package through every station instead of treating the closer as the only adjustment.
The goal is to move preparation outside the stopped-production window, make adjustments repeatable, and catch problems before they become a conveyor full of rejects. That requires confirmed package compatibility, documented settings, and a clear restart sequence.
Start with the actual containers, not the ounce designation
An 8 oz or 32 oz designation does not define the dimensions of a clamshell. Obtain samples of both approved container SKUs, including production samples from the supplier you intend to use. Confirm whether the ounce designation describes container capacity or product net weight. Those are different specifications and should not be used interchangeably.
Build a format sheet for each SKU. Record outside length, width, height, open-lid envelope, hinge orientation, latch locations, and the supplier's part number. Use inches for dimensions. Photograph the correct container orientation at each station, with the machine safely stopped.
The But-N-Loc closer specification covers 8-64 oz tamper-evident hinged containers at up to 80 containers per minute. That range is not proof that every container within it will run without format-specific adjustments. Have the equipment supplier confirm compatibility with both actual packages. Achievable output depends on container design, product condition, presentation, and upstream and downstream operation.
Map the changes across the entire line
Walk both containers through the proposed process before writing the changeover procedure. Identify every contact point, setting, and inspection that changes. Do not assume a larger container needs adjustments only to width.
- Denesting: Check stack support, separation settings, orientation, and whether the open lid clears surrounding components.
- Filling: Confirm the portion target, discharge alignment, and whether product can land on the hinge or latch area.
- Conveying: Check guide positions, transfer gaps, spacing, and sensor detection for both formats.
- Closing: Confirm lid presentation, closing alignment, and full engagement of the intended locking features.
- Labeling and discharge: Check label position, readable codes, package clearance, and the downstream case configuration.
A clamshell denester separates nested containers and places them on the line. Its setup deserves particular attention during a size change because inconsistent presentation can make downstream adjustments look wrong. Establish reliable single-container feeding before trying to solve closing problems.
Stage everything before the last good package
Create a labeled changeover cart or designated staging area. Include the next container SKU, approved change parts, permitted adjustment tools, labels, cleaning supplies, inspection forms, and the format sheet. Verify quantities and part identities before stopping. Looking for a missing guide or label roll after shutdown adds downtime without improving the setup.
Separate preparation from work that requires a stopped or isolated machine. Staff can check paperwork and stage materials while production continues, provided they stay clear of operating equipment. Guard removal, access to hazardous areas, and other servicing must follow the machine instructions and the site's energy-control procedures. A production deadline does not justify bypassing safeguards.
Assign responsibility for each station and name one person to coordinate restart. Parallel work can shorten the stopped interval, but only when work areas and energy-control responsibilities are clearly defined. Include sanitation and quality staff in planning when the product, allergen profile, or cleaning requirement changes along with the container.
Use verified settings, not memory
Record settings from an accepted run for each format. Where the equipment provides scales, position indicators, or approved recipes, document those values. Where it does not, ask the supplier about suitable reference methods. Avoid improvised marks or stops that interfere with cleaning, guarding, or adjustment travel.
A useful setup record includes guide positions, height settings, installed part numbers, enabled filling stations, label coordinates, and the approved operating speed for that specific job. Recipe recall, if available, does not replace checking mechanical positions. Likewise, a photograph supports a setup instruction but does not establish a tolerance.
For the clamshell closing machine, document the supplier-approved setup for each container rather than describing adjustments vaguely as “wider” or “higher.” Include an accepted-package reference showing the intended closed condition and the inspection method for the locking features.
Restart in controlled steps
First clear the previous containers, labels, and product according to the site's line-clearance procedure. Install the required parts and make approved adjustments with the equipment in the required safe state. Confirm that tools and loose components are removed and guards are restored before operation.
Follow the supplier's startup procedure. If permitted, begin by checking empty-container travel, then introduce product under controlled conditions. Inspect feeding, fill placement, lid presentation, closure, labeling, and discharge. Check more than one package: repeated acceptable cycles matter more than a single successful container.
Increase speed only after the package passes the defined checks. Keep startup material identified and controlled until it meets release criteria. If failures appear, identify the first station where the package goes wrong. Changing several settings simultaneously makes the cause harder to establish.
Budget downtime around release, not just adjustment
Measure changeover from the last accepted package of the outgoing format to sustained, accepted production of the incoming format. Track cleaning, mechanical adjustment, material replacement, trial operation, and quality release separately. Otherwise, a quick mechanical setup can conceal a long startup-reject period.
Pure Packaging Solutions lists complete-line configurations with 10-100 clamshells per minute, 1-4 lanes, and up to 6 filling stations. Those are complete-line specifications, not the But-N-Loc closer's rating. Actual line output depends on the selected configuration, container, product, and operating conditions. Schedule the incoming job using its verified running rate, not the highest catalog figure.
After each changeover, record missing materials, repeated adjustments, and the reason for any delayed release. Correct those causes before the next switch. A repeatable transition is built through better preparation and clearer acceptance checks, not by asking operators to rush.
Questions and Answers
Can the same closer handle both 8 oz and 32 oz containers?
Both fall within the But-N-Loc's specified 8-64 oz range for tamper-evident hinged containers. Confirm compatibility with the actual supplier SKUs and obtain the required setup instructions before scheduling production.
What should be ready before stopping the 8 oz run?
Stage the approved 32 oz containers, required change parts, tools, labels, setup records, and inspection documents. Confirm cleaning requirements and assign station responsibilities before the last accepted package exits.
What if the 32 oz lid closes but does not lock consistently?
Hold affected packages and inspect container orientation, product interference, lid presentation, and approved closer settings. Follow supplier troubleshooting instructions rather than increasing closing force blindly. Resume accepted production only after the locking features pass the defined checks consistently.
Explore the machines
- Clamshell Denester — Separates nested clamshells and places them on the line.
- Clamshell Filling Systems — Accurate weighing and filling of fresh product.
- Clamshell Closing Machine — Closes and locks hinged clamshell lids automatically.
- Clamshell Labeler — Top, bottom and wrap labeling with print-and-apply options.
- End-of-Line Systems — Case packing, case sealing and palletizing.